5 September 2026
How to Print Candle Labels at Home (No Label Printer Needed)
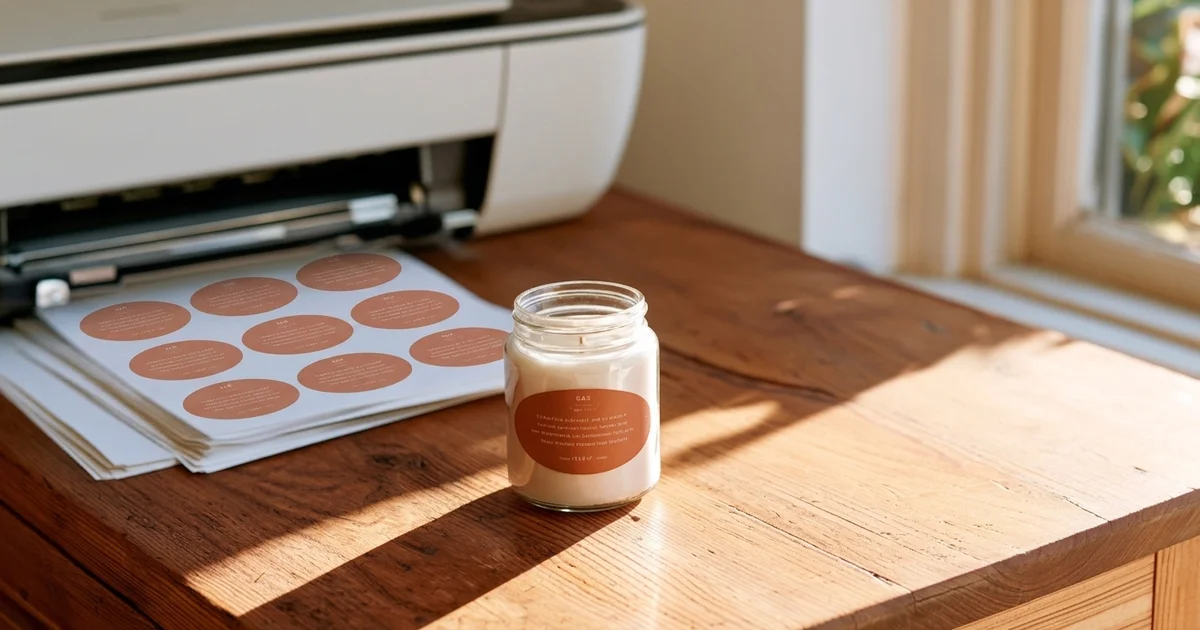
Here's the good news: you do not need a label printer to make professional candle labels. A regular inkjet or laser printer, a pack of A4 sticker sheets, and a decent label design tool are all it takes. Thousands of small batch candle makers print their labels at home every week — and the results look every bit as polished as anything from a label company.
This guide walks you through the whole process, from choosing your sticker sheets to peeling and applying the finished labels.
What you need
Before you start, gather these three things:
A4 sticker sheets. Avery is the most widely available brand in the UK and Europe. Generic white sticker sheets from Amazon or your local office supply shop work just as well — the key is that they are designed for inkjet or laser printers (check the packaging). Glossy sheets give a more premium feel; matte is easier to write on and works better for rustic or artisan aesthetics.
A regular printer. Inkjet printers produce richer colours and are better for photography-style designs. Laser printers give sharper text and are more resistant to moisture. Either works for candle labels — just check that your sticker sheet is rated for your printer type.
A label design tool. This is where most people get stuck. Word and Google Docs were not built for label layouts. Canva is better but its print setup can be tricky to match to specific Avery sheet dimensions. Labeliladi is built specifically for this: you set your label size, design your label, and it tiles everything across the whole A4 sheet automatically — no messing with margins.
Choosing the right sticker sheet size for your jar
Label size and jar shape need to work together. A label that is too tall will wrap awkwardly; one that is too wide will gap at the edges.
A good starting point for common candle vessels:
- Small squat jar (e.g. 200ml) — 63.5mm × 38mm oval or rectangle
- Medium jar (e.g. 300–400ml) — 70mm × 37mm rectangle or 90mm × 45mm oval
- Tall jar or pillar candle — 100mm × 50mm rectangle
- Round tin — 40mm or 45mm circle
If your jar is an unusual size, measure the flat printable area with a tape measure and note the width (how far around you want the label to go) and the height. Then set those exact dimensions in Labeliladi.
Designing your label
Your label needs at minimum: your brand or maker name, the scent or product name, the net weight (in grams), and any safety or burn warnings if required in your market.
Keep the layout simple: one headline font for the product name, a smaller body font for the supporting text. Two fonts maximum — mixing too many makes the label look busy.
Design your candle label for free in Labeliladi →
Print settings
Getting print settings right prevents most of the common problems (banding, colours that look different on screen, labels that smudge).
Paper type: Select "Labels" or "Sticker" in your printer dialog if available. If not, "Plain paper" usually works — avoid "Photo paper" as the ink density can be too high and cause bleeding.
Print quality: Use Standard or High. Draft quality saves ink but often produces visible banding on coloured backgrounds.
Borderless vs bordered: Most home printers cannot print to the very edge of the sheet. Set a small bleed margin (2–3mm) around your labels so that if the print shifts slightly, you do not end up with a white border on one side. Labeliladi adds bleed automatically.
Colour profile: If your printer driver offers it, use sRGB. Avoid automatic colour correction, which can shift warm tones unpredictably.
Cutting tips
Once printed, you need to cut your labels out. Three options:
Scissors. Fine for round or simple shapes, but hard to keep straight on rectangles. Use a ruler as a guide.
Craft knife and cutting mat. The cleanest option for rectangles. Score lightly first, then cut fully. A metal ruler prevents drift.
Guillotine (paper trimmer). The fastest option if you are cutting lots of sheets. Excellent for straight-edged labels. Invest in one if you are printing more than a few batches a month.
For oval and round labels, a craft punch or die cutter is the most efficient option — many stationery shops stock standard oval and circle punches.
Applying the label without bubbles
Bubbles happen when air gets trapped between the label and the jar surface. Avoid them with this approach:
- Clean the jar surface with a dry cloth — dust and oil cause labels to lift.
- Peel the label from one short edge, curling it back rather than pulling the whole backing off at once.
- Press the leading edge firmly onto the jar and use your thumb to smooth the label down in one continuous motion from one end to the other.
- For curved jars, apply gentle pressure around the curve rather than pressing flat — the label will conform to the shape.
If a small bubble appears, use a pin to pierce the centre and press it flat. On most label materials the pin hole is invisible once the label is smooth.
That is the whole process. Design once, print on standard A4 sheets, cut, apply. No specialist equipment required.
Ready to design your first label?
Ready to design your label?
Free to use. Works with any Avery sticker sheet and a regular printer.
Start designing for free